Welcome!

Welcome! So glad you stopped by my little bit of blogdom. Here I share my hobbies of nail polish, nail art and glue-on nails.


Wednesday, June 29, 2011

Experimenting

I have many left over gigantic thumb nails from my boxes of drug store glue on nails. So today I decided to do some experiments with different polishes.

First up-Watermelon manis

With flash

Natural light
I didn't use anything, on the left like a white base undercoat. The green I have is too light. I had to apply 3 coats. On the right, I used black under coat and then green. Over the red I used a ruby glitter polish, and over the green, a greenish glitter. The little watermelon slice is a fruit piece, not fimo. It disappeared when I put it on the green section, so I dabbed it with some orangey-red nail art paint. I think if I do use the fruit pieces they'll have to go on the clear section, or I'll use fimo fruit.

 This one is an experiment in a Moroccan-like design. 2 coats of polish each with corresponding glitter polishes. Gold, navy and black nail art paints.

This was frustrating. I wanted to try out some of the nail art polishes I have to make a design. And I hated it. So I put a blue glitter polish over it all and then it got kind of interesting to me. I almost like it.
 That's right. I haven't given up on painting sand castles. This one started with a white base in the sky area, and gold glitter on the base. I used a turquoise blue on the sky. One coat. And when I saw the white peaking out, I decided to try again for a sand castle.
Here are my first feeble attempts at sand castles, lest anyone forgot. What do you think? Am I getting any better at it? 

Now here are 2 nails with exactly the same nail polishes. Only their base coats are different. The one on the left has a white base coat. The one on the left has a black base coat. Amazing how the neon green on the left changes with the black base, isn't it?

I finished off the left nail with a gold glitter and then navy nail art paint to define the different color blocks.


And with the right one, I'm back to seeing a watermelon design. And I really like this one because it's slightly abstract and the greens look nice. I used corresponding glitter polishes and the black nail art paint for the seeds.

What do you think of my experiments? Any stand out to you?

Hope you're having a good week. Thanks for stopping by!

Tuesday, June 28, 2011

The Sunshine Award

Dear Olivia C at http://livylulu.blogspot.com/ has tagged me for the Sunshine Award. She's got a very nice and friendly blog that I like to visit often. She and her sister Abigail are getting into vlogging and their video is fun to watch. They've totally got me wanting to order some American Apparel nail polish! You should check her out. 


Rules:
1. Thank the person who tagged you & link back to their blog.
2. Write a post about the award.
3. Pass it on to 10 bloggers.
And another rule that was added is to list one everyday thing that makes you happy.

The everyday thing that makes me happy is having my own craft room. I know, it probably sounds silly. But when you're married, you mostly have to share all your space. My kids have rooms of their own, my daughter has her own bathroom, but me, I gotta share. I love my husband dearly, but there's something really special about having my own space. Shh...don't tell him. LOL


Ten Bloggers I want to pass this award to are:

Thanks for reading!

Monday, June 27, 2011

Photo Flowers

This mani is inspired by one of my favorite Japan nail salon catalog apps.  The Japan nail salon photo showed a white french tip mani with multiple tiny flowers, in different colors all over the french tips. When I saw it, I believed I could recreate the look with all these stickers I have.

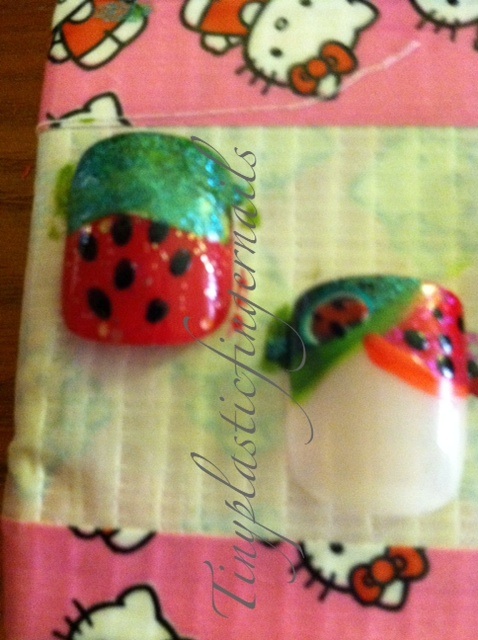
I chose this box to use as the french tip manicure base.
The kit comes with glue, nail file, and orangewood stick
When I first started wearing drug store nails, in 2009, there wasn't much choice in my area except french tips. I bought several boxes of this brand, size and peach color because I liked the base color best against my skin.

Then around the beginning of 2010, the drug store/glue on nail world exploded. Suddenly we were getting designs, prepolished nails, and french tips with colors and designs, and stickers, and then nail art paint. It's become really exciting to see what Broadway/Kiss will come up with next.
Still I have a big box full of mostly white french tip nails. Back when I started, it never occurred to me to do anything more than to wear the french tips, try to avoid air bubbles, and then try to hide the air bubbles that inevitably showed up. I got so discouraged about the air bubbles, I put the white french tips away, and bought other nails with different designs. And then I discovered blank nails and started buying polish again.

Ok. So much for the trip down memory lane.

I can't remember if I bought these stickers or won them in a give-away because my stickers seemed to have multiplied in the dark. Even though stickers cause me troubles at times, with curling or bleeding, I still love them. They've given me the ability to be creative even though I'm not artistic.

 I had a close up of the stickers I selected but my iphone had a little hiccup earlier and I guess I lost the picture. The top section of stickers, the photo quality-like flowers, are the ones I used for this design.

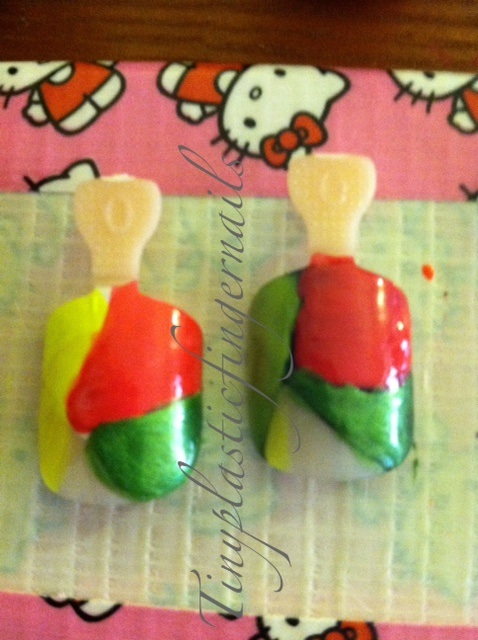
I selected the nails I would be using. The tabs came in really handy to hold the nail while I placed the stickers on them.

 I used tweezers to remove the stickers from the sheet, and place them on the nails. At first, I used a dab of clear polish and then put the sticker on, but then I found that wasn't really necessary. After the stickers were layered, I put a clear top coat over them so they wouldn't curl.

And here they are on my hands!


Once again, I had some air bubbles because I'm trying to shove my flat nail beds into arched drugstore nails.  I used Confetti Dreamdate, an iridescent pink polish over the base of the nails, up to the stickers, to cover any air bubbles.
Thanks for stopping by! Tell me what you think in the comments below. 
Hope you all have a great week!

Saturday, June 25, 2011

Hello Kitty /Shabby Chic Roses

Well, it was only a matter of time...
Stare at that cute face long enough and things happen.
"Put me on a nail," She whispered.
And I obeyed.
Polishes:
L-R:Confetti Belle of the Ball, Beach Dancing, Dreamdate, Wet n Wild Red, Sally Hansen BLU, Confetti My Favorite Martian (Belle of the Ball and Dreamdate my daughter picked up for me at CVS yesterday)
The flowers are from this package of stickers:

I dabbed the colors onto the roses, and then used a q-tip to wipe most of the polish off so the detail still shows through. I used the same technique with the leaves.

Hello Kitty!
I have all this glorious Hello Kitty duck tape, so I cut out a head.
And after dabbing some clear polish, I put it on the thumb nail.
Instead of worrying about cutting around her whiskers,
I just used a black fine tip sharpie to draw them back on.

Add some green vines and voila!
And they say nyquil isn't a hallucinogenic or anything.


Friday, June 24, 2011

4th of July Mani

Hi everyone! I'm back!  Well, sort of.

I've been sick all week with a cold and upper respiratory problems. I'm feeling better today, but still not full of energy.  All week, I've been thinking about doing some nails for 4th of July.


I bought these stickers at Sally's.

I wanted to incorporate some of the stickers into the design.

I also decided to use up the remaining nails in this box.
These huge thumb nails are what's left from that box.

I did manage to get 6 nails from the Deceptions box, and added 4 Nailene blank nails.

Polishes:
L-R:Piggy Polish Sleigh It Ain't So, Sally Hansen Purple Cloud, NYC Skin Tight Denim Creme, Confetti Party Palace Blue, LA Colors (no name) white glitter, Milani Art of Gold
I taped the french tip nails with Nailene French Tip Guides, to the top of the painting platform, and painted the full cover nails and french tips randomly.
2 coats each color

1 coat: Party Palace Blue over the blue nails, white glitter over the others.
 I applied the stickers to the full cover/polished nails, and added a gold line under the french tip nails. And a few rhinestones to two of the stickered nails.

I'm not really thrilled with these stickers. When I polished them with a clear coating the stickers bled.
It's not surprising to me now that they were on clearance for $2.50. I had to cover the blurry eagle with another sticker and touch up the flag with some white.


What do you think of my 4th of July mani? Have you tried stickers from Cina Nail Art?

What are you doing for Independence Day? Got a special mani planned? 

Hope you all have a great weekend and thanks for stopping by!

Monday, June 20, 2011

Japan Nail Art Inspired DOTS!

Many nights, when I can't sleep I surf the web for nail art inspiration. Could that be why I'm dreaming about nails now? Hmm...

I downloaded a free app that is basically a nail salon finder and nail art catalog. It's mostly in Japanese but I get the gist of it. The nail art in this catalog is amazing and wonderful. Many of the designs have something different going on, on several nails.  Not all of the nails are identical.

One day I woke up inspired by this and created these nails.
No nail is designed the same but the colors and dots coordinate them.


Polishes:
That's all, just 4 colors!
I painted the Kiss Oval Active Length full cover nails alternating Rimmel Cherry Fashion, and Wet n Wild Black.

I taped off the nails using Nailene French Tip Guides. On 2 of the nails, I didn't tape off. (Later on, you'll see I didn't dot the left hand pinky)
On some nails I painted Sally Hansen Lavender Cloud, or Cherry Passion or Black or it was already painted the color I wanted. The dots are done with a cut off end of q-tip. 

It's not rocket science so if some of the dots are messed up they'll be covered with the fruit pieces.

After I removed the tape, I started going around the fruit wheel.


I even got confused on what was up and what was down!

So the end result, after turning all the nails so the ovals face up, I got this:

I think it turned out ok anyway. 
The fruit pieces, although not Fimo Fruit, worked pretty well, except for a couple that disappeared under the clear polish. Once covered with clear polish the curling was minimal.
The wheel, however, gave me no end of frustration. 

It will only turn smoothly going left...for awhile...and then it has to go back from whence it came or it stops like a stubborn donkey.

On each nail I put rhinestones from Broadway Nail and Body Art Kit.

What do you think of my Dots nail art? Have I gone over the bend?

I'm still on the look out for the elusive 2 size ends nail dotter. 
Anyone have a suggestion?

ABSOLUTELY RANDOM:
Did anyone else watch the season finale of Game of Thrones on HBO? Holy CoW! And we have to wait almost a year for the next season??? WTF is up with that? Are you as sick as I am that they wait so long on these shows to start the next season? That's just not right.

Hope you all are having a great week!

Sunday, June 19, 2011

Top Ten Award

Thank you Olivia, from http://livylulu.blogspot.com/ for nominating me.
I'm sick as a dog today so forgive me if my answers don't make sense. I blame the benedryl. (That's my story and I'm sticking to it!)

The Top 10 Award Rules:
1. Thank the person who tagged you and link to their blog.
2. Put the Top 10 award logo on your blog.
3. List your top 10 cosmetics.
4. Choose ten bloggers to tag, link to their blogs, and let them know.

My Top 10 Cosmetics:
  1. H20 moisturizer. Any successful makeup application hinges on that.
  2. Philosophy The Supernatural or The Present. The Supernatural is tinted and has spf 15. The Present is clear foundation. Depending on if I'll be outside a lot determines which I'll use. (Did that sentence even make sense?)
  3. Covergirl & Olay Simply Ageless concealer and foundation. I've got dry, sometimes red blotchy cheeks. I put this stuff over #2 to even out the tone.
  4. Physicians Formula bronzer. It looks like sweater-knit weave in the container. 
  5. Covergirl & Olay Simply Ageless cream blush
  6. Eye lid primer. It was a terrific day when I discovered this. No more color sliding off my lids.
  7. Revlon Illuminance Creme Shadow. I use this with my eyeliner brush to line my lids. It stays on and comes off easily.
  8. Revlon powder shadows. They seem to blend the best for me.
  9. Covergirl lip balm. The kind that has a minty taste.
  10. Brushes: Kabuki, eyeliner, eye shadow, crease, cut crease
So there you have it.

Since I'm still new at this, I'll just open it up to whoever wants to do one of these.  If you read this and want to join in, link back to my blog and have fun!

Saturday, June 18, 2011

In Search of The Elusive...

Nail Dotting Tool.

I skipped on over to S's beauty supply, believing they'd have a double sided/2 sizes dotter.

Oh, silly me! The only dotter they had was the size of pin with a brush on the other end. So now I'm trying to find a dotter somewhere. Any suggestions?

They didn't have the dotter I wanted but they had these...
 Fruit pieces (not Fimo), Flag stickers and Under the Sea stickers.
I got the Hello Kitty duck tape from Target, and the plastic storage hexagons at Tues Mornings.
The fruit pieces are not as bright as fimo fruit but there are a lot more in the wheel for the same price as I paid for the 100 pieces fimo + shipping.

The Fimo fruit I ordered came in 2 little baggies. I found these interchangeable hexagons for jewelry making supplies at Tues Mornings. They are only .49¢ for a hexagon. I put the green pieces in the pink boxes and the yellow and orange in the green.

NonstickyStickyNonsticky got a make over too. Hello Kitty duck tape-too cute! My husband picked this up at Target for me.

And totally random...
You know one of the nice things about having a smart phone is being able to write out a list, take a picture of it, and send it to the wonderful husband picking up dinner. No more trying to type out lists in a text message. Woo-hoo!

Seriously though, where can I find a dotter?

Related Posts Plugin for WordPress, Blogger...