Welcome!

Welcome! So glad you stopped by my little bit of blogdom. Here I share my hobbies of nail polish, nail art and glue-on nails.


Friday, July 29, 2011

Under The Sea with Fimo Fish

This was the mani full of troubles.

Well, that's a bit of an exaggeration.

I have wanted to paint mermaids on my nails. 

This is not that mani.

I wasn't sure if this should be full nail or french tip. When I couldn't decide, I made this mani instead.  I used Kiss Oval Active full cover nails. More on that in a moment.

I then had to decide if the bottom of the sea would be on the nails tips, or at the cuticle edge. Do you ever think about these things when doing nail art? In the mean time, I painted all the nails with Sally Hansen Lavender Cloud, my white-ish base of choice. While that was drying I decided the bottom of the ocean would be at the tips of the nails.
Click on pic to enlarge details
Polishes:
This is the exact order in which I used the polishes.
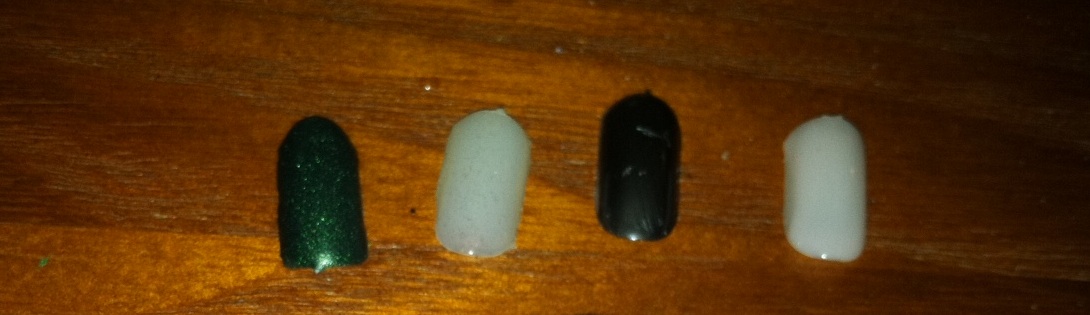
Left to Right: Sally Hansen Lavender Cloud, Revlon Mint, Confetti Tahitian Turquoise, Wet n Wild Teal or No Teal, LA Colors Black Velvet, Confetti Tiara, LA Colors(no name) turquoise glitter, Confetti Party Palace Blue, Color Zone (no name) blue glitter.

  1. Sponged 2 coats of Mint. Let dry. Then...
  2. Sponged 2 coats of Tahitian Turquoise. Let dry. Then...
  3. Sponged 2 coats of Teal or No Teal. Let dry. Then...
  4. Sponged a very tiny amount of Black Velvet right on the nails' tips. Let dry. Then...
  5. Dabbed Tiara on Mint area. Then...
  6. Dabbed turquoise glitter on middle section. Then...
  7. Dabbed Party Palace Blue on top section avoiding very tip. Then...
  8. Dabbed Color Zone blue glitter over Black Velvet. Let dry.
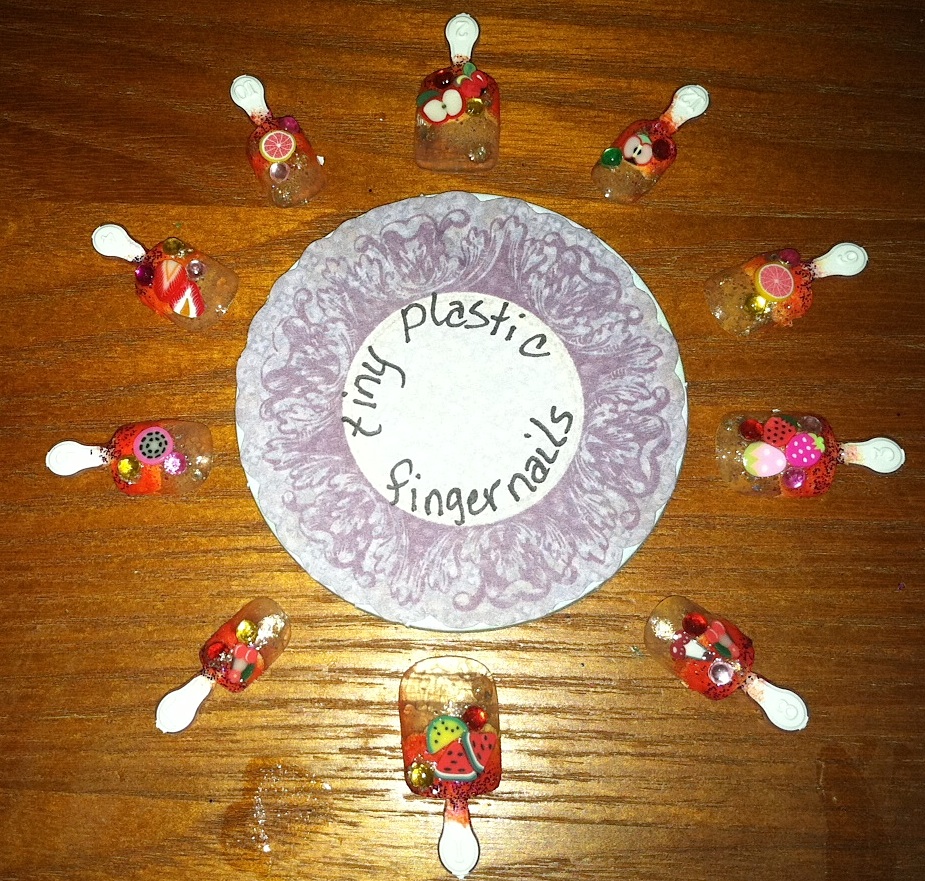
Here's what they looked like after all that.
 It had come to my attention that the last 2 manicures I've worn have been fimo fruit.  I wanted something different so I pulled out all my little fimo fishies.

I decided on using the blues, greens, golds, and diamond rhinestones from the big wheel.
And the black and white flourishes from these stickers.

I'd watched a lot of youtube videos on under the sea type nail art. So many talented people who can paint and draw with brushes and polish. I'm not confident at all to attempt that. After all the time I spent adding all those layers, I didn't want to risk messing up big time by trying to paint by hand.
Wearer's point of view

When I add stickers, I try to do mirror imaging. While I was adding all the embellishments, I realized I'd made a huge blunder! I had painted only NINE nails! I was missing my left ring nail. Even when I took this picture, I did not realize my mistake.


When I saw what I had done, I could NOT believe it! I had to go through all the steps again, just for one nail. 
INCREDIBLE!

And since this was a nail art project with many problems, I couldn't get the nail to stay on the duct tape so I could paint it. Finally though, I got it painted and embellishments applied.

And here's the mani I'm wearing this weekend!


Pretty wild? 

Hope you all have a great weekend!

Thursday, July 28, 2011

Sunshine French Tip Nails and Fimo Fruit Slices

I had another mani to post but when I looked at the finished nails, I decided to save it for Christmas.

Christmas???

Yep, Christmas. You'll just have to wait. ;p
(And hope I don't forget about it)

This mani is all sunshine and summer!

I started by selecting nails from this box.


Last night, not knowing what colors I was going to use exactly, I painted the nail tips, and filled in the rounded out middle with Sally Hansen Lavender Cloud.  I didn't use nail guides because I knew I would be sponging on the colors.

Today, these are the colors I chose:
LA Colors (no name) Ruby and Gold chunky Glitters, LA Colors, bright red and bright orange, Wet n Wild Sunny Side Up, Covergirl Ruby Dust, Confetti Pink Confetti, Sally Hansen Lavender Cloud, Rhinestones wheel
I sponged Sunny Side Up, half way down the nails, then bright orange, and then bright red.
After that all dried, I dabbed Pink Confetti on the lower section, then Ruby Dust on the rest of the nails to the tips. When that dried, I dabbed on the very tip, the LA Colors ruby glitter. Taking the LA colors chunky gold glitter, I dabbed it in 2 or 3 spots on the nails.
The bottom of the nails are still transparent.

After everything dried, I added pink or red fruits, and rhinestones.
Then a clear top coat to set everything in place and keep the fimo fruit from curling up.
Click on pic to see details
I really like how these turned out.  I'll probably wear them this weekend. Unless I decide on the other nails I'm working on. I'll post them tomorrow.

Do you fimo? :D

Wednesday, July 27, 2011

You Say Tomato...

A little while ago, I got my order of veggie fimo slices.

Zucchini, tomatoes, mushrooms and corn
It took some time but I got them all divided up and into their container sections.

Here's the mani/nail art I came up with this weekend:
Nails:
Broadway Deceptions with moons
Polishes:
Revlon Matte Suede Emerald City, LA Colors Art Deco Bright Orange
I'm not sure I really like the matte polish. I guess I'm just too accustomed to having my nails sparkly. I used a regular (non-matte) top coat so that made the matte finish a little shiny.


Stickers:
I really fought my incredible urge to put glitter on the green matte. I did succumb to some white rhinestones. Just a little. Gaw, I'm just a sparkle lover.

Here's another look. Click on the pic to see details better.


My daughter said it was strange to have vegetables on my nails, but she liked it.

What do you think?

Please post your thoughts in the comments below.

Monday, July 25, 2011

CVS 25% off PLUS Revlon and Confetti Swatches and Comparison

How was everybody's weekend? Do anything fun? I did my best to stay out of the heat. I spent most of Saturday online, looking for hotels for our upcoming road trip to California. Woo-hoo!

CVS emailed a 25% off e-coupon to me. I could either print it out, or send it to my CVS card. I chose to send it to the card. It worked perfectly. Over the weekend I picked up these colors.
Revlon Emerald City (my first Matte!), and Steel-Her Heart, Confetti Pink Paradise and Tiara.

The Revlons were Buy One Get One Half off. I can't tell on the receipt if the full price Revlon got hit with the 25% off or not. The 25% off was good toward non-sale items. However, I just couldn't pass up Emerald City and getting the second Revlon shade half off was the deal clincher.

 These all are two coats each
 Emerald City, Tiara (clear glitter) Steel-her Heart, Pink Paradise
These pictures don't really show how sheer pink the Pink Paradise is. My daughter painted 2 coats on her thumb nail to try it out.
I don't know about you, but I think this is a nice natural nail enhancer color. It masks some discolorations and makes the nail look buffed.

I have another color that is a light pink.
Sally Hansen Sheer Strawberry
Pink Paradise vs Sheer Strawberry (With flash)

Pink Paradise vs Sheer Strawberry (without flash)

Here you can see how Sheer Strawberry is more pink at 2 coats than Pink Paradise is with 2 coats.

Do you own any of these polishes? What are your thoughts on matte polishes?
Do you leave it matte or use a shiny top coat?

Hope everyone has a great Monday!


Friday, July 22, 2011

New Finds at Big Lots

It's been awhile since I've been to Big Lots. Here's some things I found...

 I bought this thinking I can use the stars in nail art. If it doesn't work I'll just use it in scrapbooking.

 Fing'rs Flirt Nail Art Pens ($2/ea), LA Colors ($1), Revlon Minis ($2), Sula Paint & Peel ($2.50)

Fing'rs Flirt Nail Art Pens: Caution (yellow), Dare (violet), Sula Paint & Peel Teal, LA Colors Black Velvet, Revlon Minis: Pink Ice, Winter Mist, Cherries in the Snow

 25 piece paint brush set $4

These are the ones I'm going to use to practice nail art. If I can't make a go if it, I'm not out much cash.

I'm looking forward to swatching the Revlon minis, the Paint & Peel, and seeing how well the nail art pens work.

Have you tried any of these polishes?

Thursday, July 21, 2011

Full Blown Summer-Broadway FAME!

Hello everyone!

It's so hot...well...for most everyone. I've fought it and denied it's summer.  Not really but wouldn't that be awesome?

I've had these nails since summer of 2010. I wore them once with megatabs and took them off that same day.  When I bought these, they were just $3.99. I ordered them from Walgreens. Now I see they have raised prices to $4.49. But they are still only $3.99 on Beautyonlinesupply.com. This set of nails doesn't come with glue, file or orangewood stick. So have those things on hand if you're going to put them on.

Broadway: Fame

I love this design. Does it remind you of summer?


My trouble with these nails are they are medium in length and the design doesn't disguise my short nails' edges. Also, I felt they were too long for my fingers.

Look at these long suckers! You can see where my real nail ends under the nails. 
I used the glue to glue technique I learned at the Kiss Webinar, and this time, I didn't have even one air bubble!

So what I thought I'd do was use some fruit slices to to enhance the nails and cover my nails' edges, and trim down the tips, so I wouldn't slash anyone to bits.

I use a big toe nail clipper to clip the tips. I know some people just file them down, but I'm not that talented. They'd come out really crocked for me.

Here they are cut down. They are still really long. I could file the nails at the cuticle edge, I've done that before. But with french tip nails, I found that a filed cuticle edge is really apparent. 

And here they are with a piece of fruit and some rhinestones.


Pretty wild, eh? Or fun summer look? Or both?

I'll try to upload some day time shot while I'm out today. I think the flash makes them look more dramatic than they are. We'll find out later...

Thanks for stopping by and taking time to read my blog!

UPDATE: Day light pic

Wednesday, July 20, 2011

For Olivia C. from http://livylulu.blogspot.com/

Olivia swatched her new purchase, the exquisite Peridot by Chanel. I thought I had a color similar to that.
This is Revlon's Gold Coin.

With Flash (2 coats with out top coat)
The flash really picks up the green in the formula.


However, in natural light...


It looks more gold.

I thought this Gold Coin might have been a dupe for Chanel's Peridot, but now that I see it in natural light, there really isn't a comparison. Peridot has a luscious green tone that's captivating and in my opinion, incomparable.


Related Posts Plugin for WordPress, Blogger...