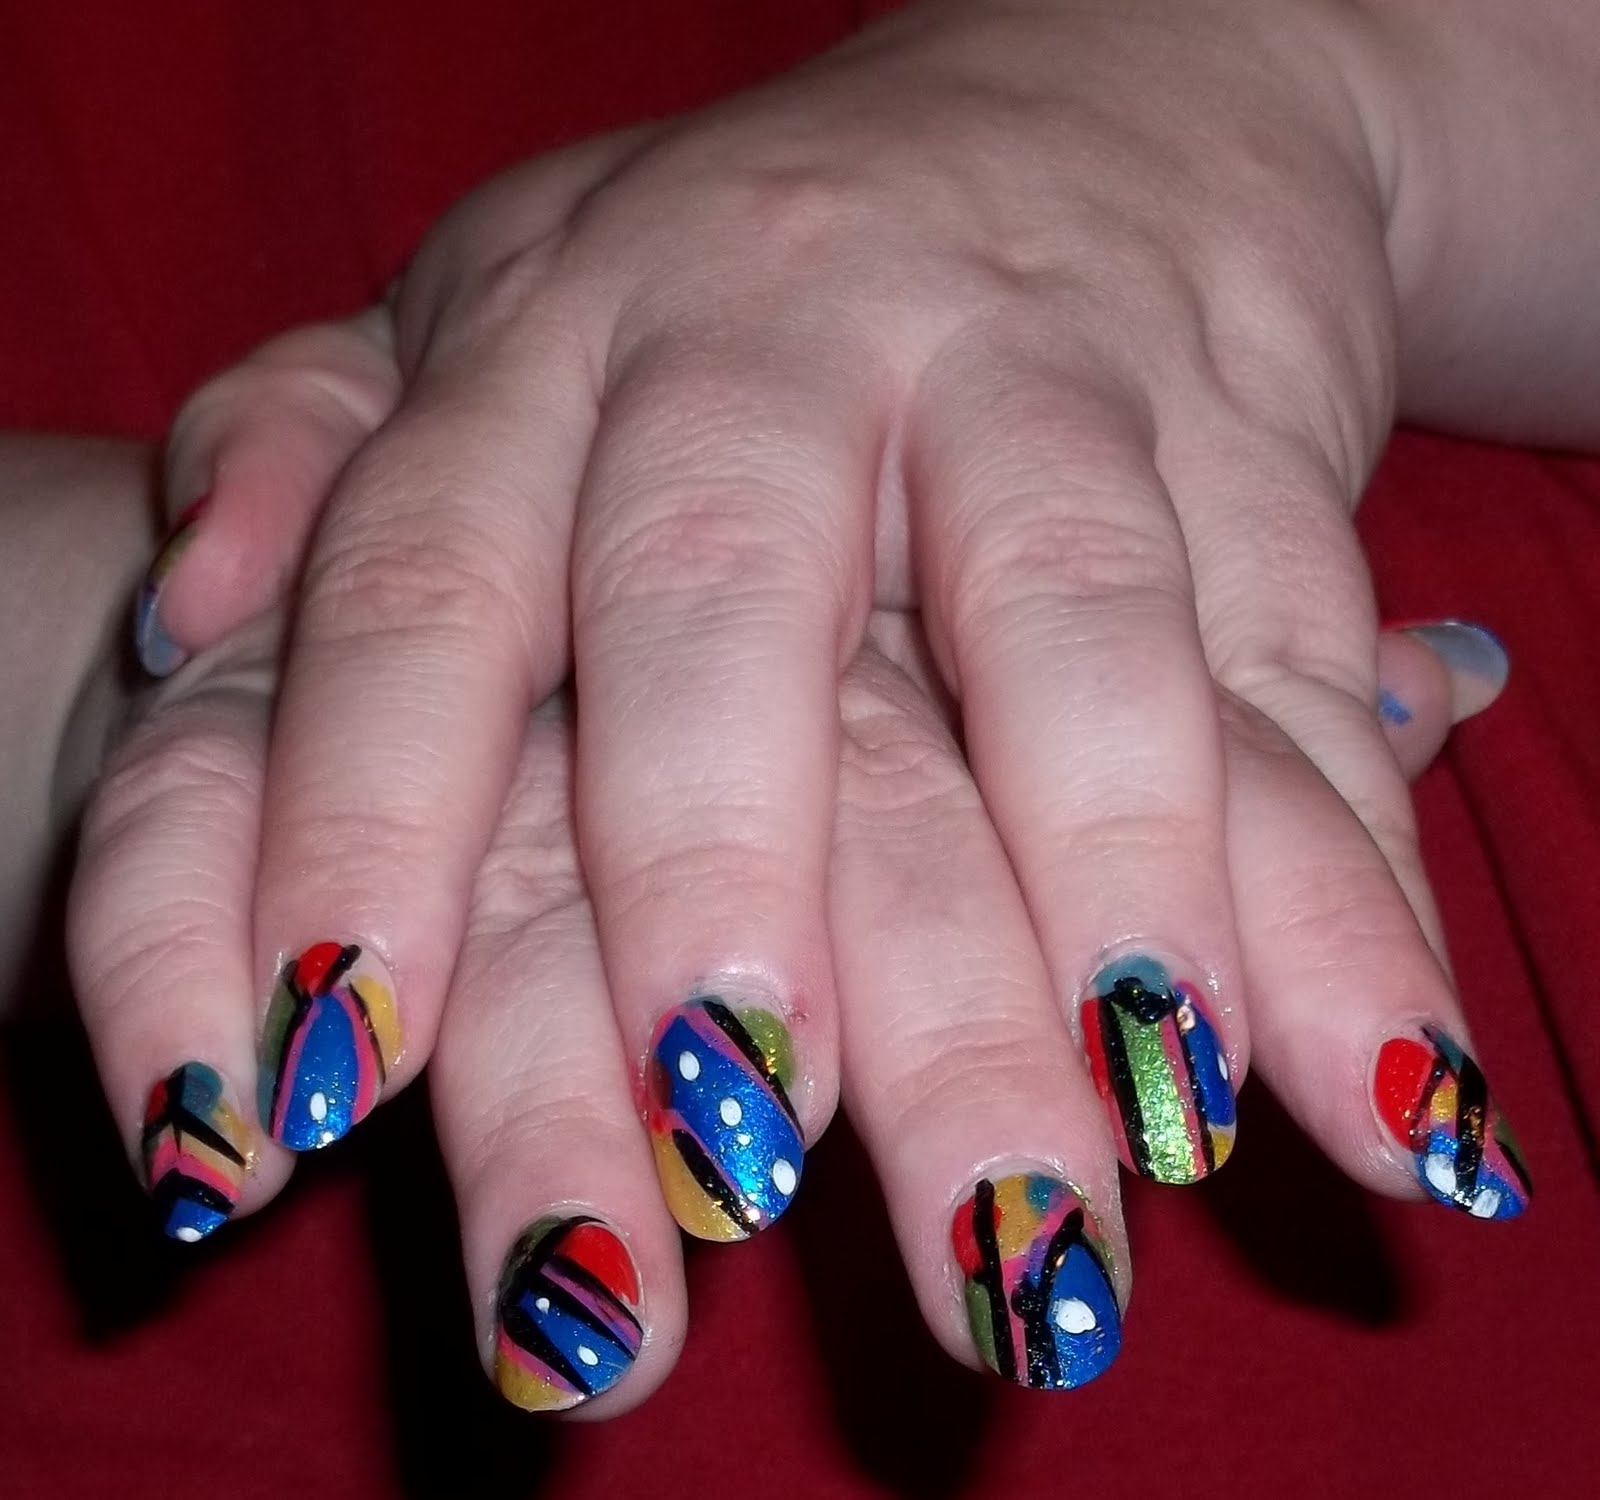
Here's how I did it:
I painted all the nails a neutral color. (These are Kiss Oval Active Full Cover glue on nails) I used Revlon's Gray Suede as a base coat.

 When that dried...I got 7 colors (all the colors from the Wet n Wild Nail Pail) ready. I started with 230C Saved By The Blue, swiping it across my thumbnail.
 From there I just radomly dabbed or swabbed the other nails with the same color, varying the size.
I went on to do the same with all the other colors. I didn't wait too long for the polish to dry before going on to the next color.
Once I got all the nails painted, I waited for them to dry. After a few minutes, I got a bright pink nail art polish. You can see the stripes in the photo above. Well, I didn't quite like that so I got out the black nail art polish.
With the black nail art polish, I outlined some of the sections on each nail. Not every section though.


The blue areas seemed really too much in-your-face to me. So I got the white nail art polish and put 3 dot-like marks on the bigger blue sections and 1 dot-like mark on the smaller blue sections. I learned in photography and graphic design classes that visually, 3 of something is more appealing than 2. I forgot a lot of things from college but I never forgot that.
After the polish dried, I swiped clear glitter polish over my nails. When that dried, I applied a clear top coat. It looks like melted crayons.
It really was easy and a lot of fun. The best thing though is if you don't like the results, you can just take it off with nail polish remover and start over.